Integrating ID Scanning and Extraction In Web Apps With BlinkID SDK
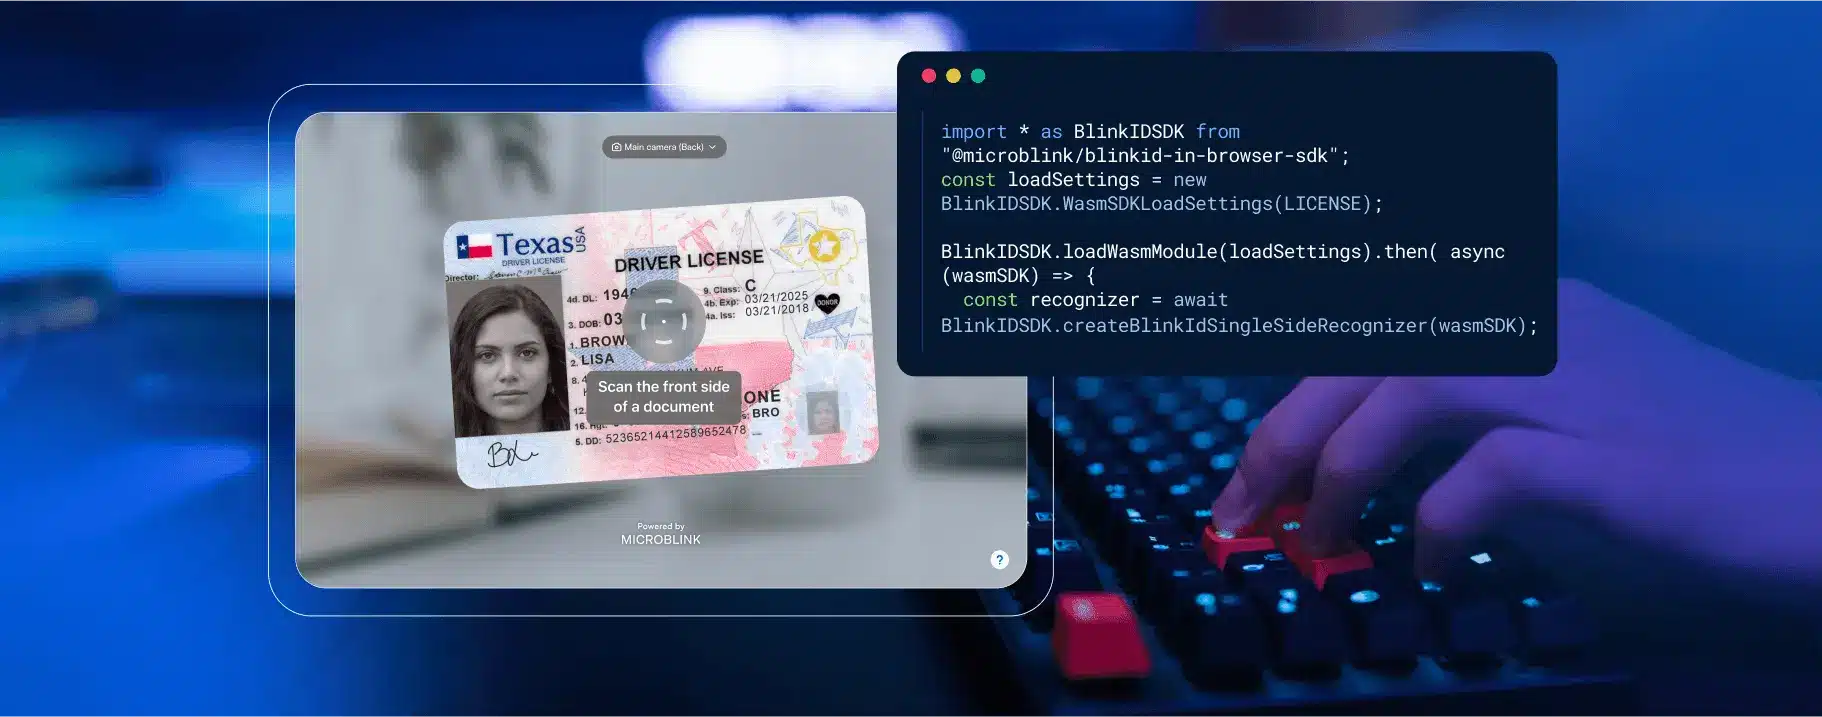

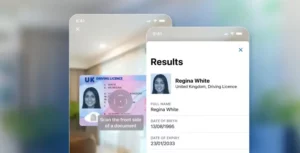
In this step-by-step tutorial, we’ll show you how to start scanning and extracting the data from a driver’s license using Microblink’s BlinkID SDK.
If you’re pressed for time, and want to see this work in action right away, check out the demo apps.
Better yet, test this out in under 5 minutes on your machine (if you have Node and Git installed) by doing the following steps:
- in your terminal, clone this repo by running
git clone https://github.com/BlinkID/blinkid-in-browserin your Terminal - run
cd blinkid-in-browser/examples/getting-started && npm install && npm run dev - get the license at Microblink Developer Hub and add it to the
LICENSEvariable in themain.jsfile - run
cd BlinkID-InBrowserSDK-GettingStarted && npm install && npm run dev - open http://localhost:5173/
If you prefer a short video for running this project, feel free to check it out here.
If you want to recreate this project from scratch, below’s the step-by-step guide.
The Problem
Let’s set the stage: you’re running a car rental business, and your customers have to enter their driver’s license information in a web form on your website. This process is usually error-prone, and often takes a while, and you observe a steep dropoff rate on this particular screen.
You dig deeper with your product and user research teams and find out that people often make mistakes entering the information and that they, in general, find the process cumbersome.
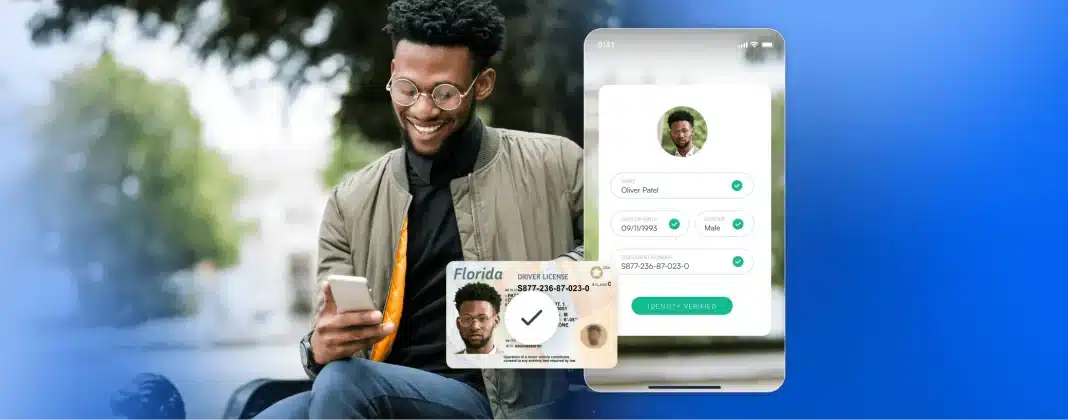
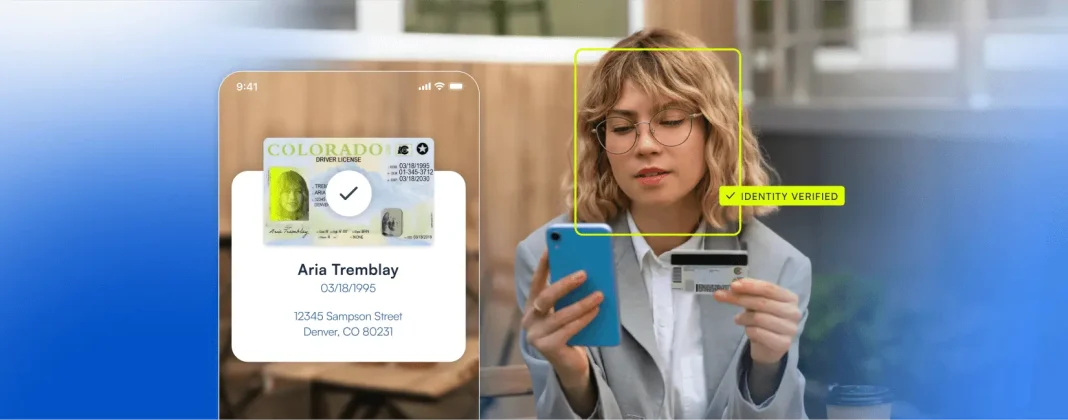
Now, imagine this: you implement a library that enables you to offer customers the ability to just scan their ID with their camera, and woila: you automatically fill out all the details from their ID.
Seamless, errorless, and fast!
Intrigued? OK, let’s go through a step by step process in getting started with this.
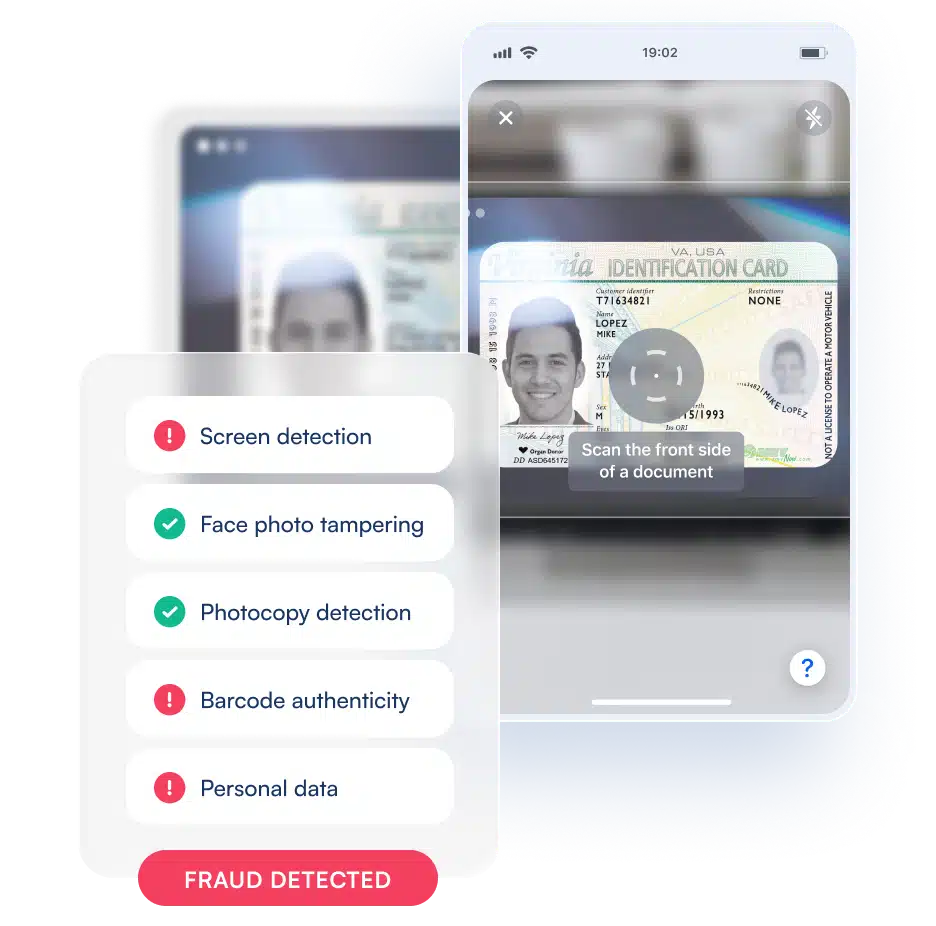
In general, integrating advanced document scanning and OCR capabilities into your web application can significantly enhance user experience and streamline processes no matter the industry. Microblink’s BlinkID SDK offers robust and reliable solutions for scanning not only driver’s licenses, but also IDs, passports, and other documents. In this blog post, I’ll guide you through the steps to integrate BlinkID into your web app for extracting data from a driver’s license, and we’ll dig deeper in other solutions in some other posts.
Prerequisites
Make sure that you have the following tools installed:
- Node.js – go to the main website and download the executable for your machine
- Git – go to the main website and download the executable for your machine
Starting a new project with Vite
As you can see in the latest State of JS report, Vite has become one of the most beloved build tools, so we’ll use it here.
In case you’re wondering why that is even important, then a very long explanation is here, and a very quick, but mouthfull, answer is that:
Vite leverages native ES modules to provide a fast development server with instant Hot Module Replacement (HMR), making development smoother and more efficient, and producing optimized, production-ready builds.
To put it bluntly, you shouldn’t use Vite because the cool kids are using it, but because it’ll actually make your dev experience way better.
OK, with theory out of the way, let’s run the following command in your terminal: npm create vite@latest. This will run the latest version of Vite.
When prompted, use blinkid-integration as the Project name, select Vanilla as a framework (meaning, no framework) and Javascript as the variant (meaning, the language; other option is TypeScript). The output you should see is similar to this:
✔ Project name: … blinkid-integration
✔ Select a framework: › Vanilla
✔ Select a variant: › JavaScript

Scaffolding project in /Users/nikola/DEV/test-vite/blinkid-integration...

Done. Now run:

  cd blinkid-integration
  npm install
  npm run dev
Running our scaffolded project
Let’s run the commands (in terminal) noted at the end of the previous output:
cd blinkid-integration
npm install
npm run dev
Once this finishes, you should get an output similar to this:
added 10 packages, and audited 11 packages in 10s

3 packages are looking for funding
  run `npm fund` for details

found 0 vulnerabilities

> blinkid-integration@0.0.0 dev
> vite

Port 5173 is in use, trying another one...

  VITE v5.3.2  ready in 209 ms

  ➜  Local:   http://localhost:5174/
  ➜  Network: use --host to expose
  ➜  press h + enter to show help
You should see the following page in your browser if you open http://localhost:5174:
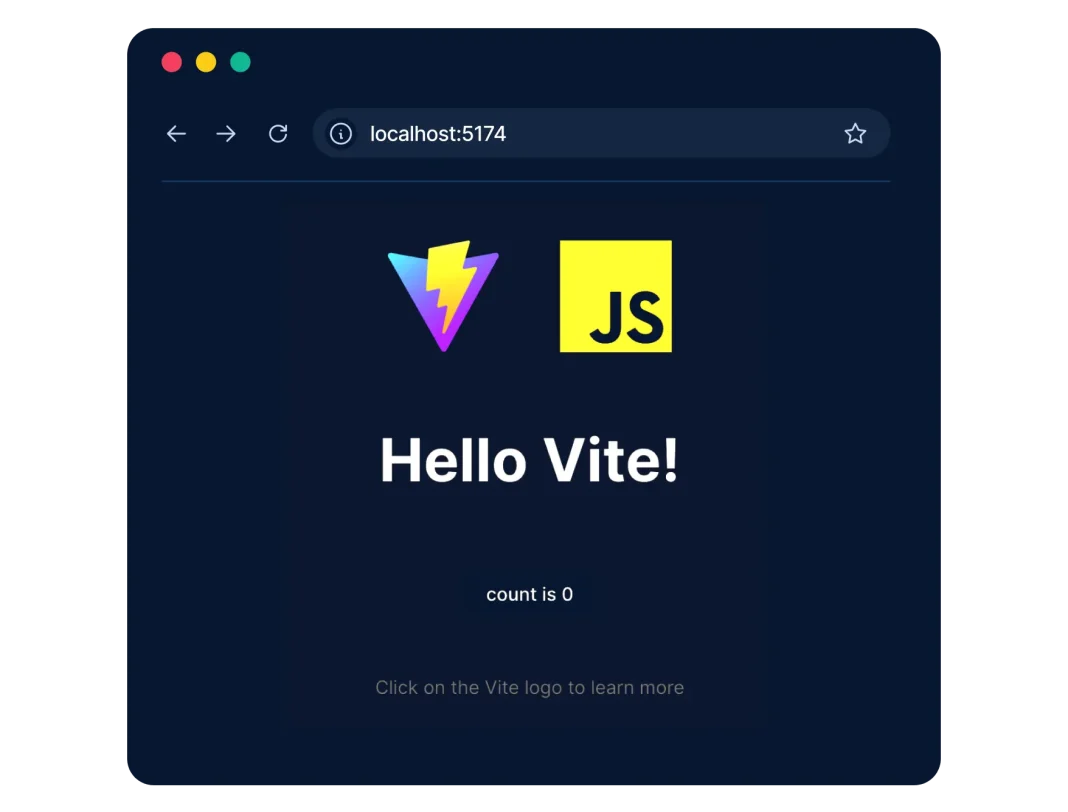
As expected, if you click on the count is 0 button, the number will increase.
Adding BlinkID SDK
Next, let’s install the BlinkID SDK by running the following code in the terminal:
npm install --save @microblink/blinkid-in-browser-sdkCopying the resources folder
This is a very important step, that often gets overlooked! So, please make sure to copy the resources folder (found in node_modules/@microblink/blinkid-in-browser-sdk/resources) into the public folder.
Creating a Basic HTML Structure
If you open the scaffolded project in your favorite editor (I’m using VSCode), you’ll see this folder structure:

If you’re interested and haven’t used Vite before, I encourage you to check out the code. It showcases the ability to use the import command.
Now, let’s replace the current contents of the index.html file with the following:
<!doctype html>
<html lang="en">
  <head>
    <meta charset="UTF-8" />
    <link rel="icon" type="image/svg+xml" href="/vite.svg" />
    <meta name="viewport" content="width=device-width, initial-scale=1.0" />
    <title>BlinkID Test</title>
  </head>
  <body>
    <video id="myCameraVideoElement"></video>
    <script type="module" src="/main.js"></script>
  </body>
</html>
You will notice that we only changed the title, and instead of <div id="app"></div> added <video id="myCameraVideoElement"></video>.
Adding JavaScript for document scanning and extraction
Replace all the contents of main.js file with the following code:
const LICENSE = '';
import * as BlinkIDSDK from "@microblink/blinkid-in-browser-sdk";

if (BlinkIDSDK.isBrowserSupported()) {
  const loadSettings = new BlinkIDSDK.WasmSDKLoadSettings(LICENSE);
  loadSettings.engineLocation = window.location.origin + "/resources/";

  BlinkIDSDK.loadWasmModule(loadSettings).then
    (
      async (wasmSDK) => {
        const recognizer = await BlinkIDSDK.createBlinkIdSingleSideRecognizer(wasmSDK);

        const recognizerRunner = await BlinkIDSDK.createRecognizerRunner(
          wasmSDK,
          [recognizer],
          true
        );

        const cameraFeed = document.getElementById("myCameraVideoElement");
        try {
          const videoRecognizer = await BlinkIDSDK.VideoRecognizer.createVideoRecognizerFromCameraStream(
            cameraFeed,
            recognizerRunner
          );

          const processResult = await videoRecognizer.recognize();
          console.log(processResult);

          if (processResult !== BlinkIDSDK.RecognizerResultState.Empty) {
            const recognitionResult = await recognizer.getResult();
            console.log(recognitionResult);
          }
          else {
            console.log("Recognition was not successful!");
          }

        }
        catch (error) {
          console.error(error);
        }
      },
      (error) => {
        console.log("Error during the initialization of the SDK!", error);
      }
    )
}
else {
  console.log("This browser is not supported by the SDK!");
}
Now, let’s understand what this code is doing…
const LICENSE = '';
import * as BlinkIDSDK from "@microblink/blinkid-in-browser-sdk";

if (BlinkIDSDK.isBrowserSupported()) {
Line by line:
- We defined a constant called
LICENSE(we’ll tackle this in the next section). - Imported all the exported members from the
@microblink/blinkid-in-browser-sdkpackage, and assigned them to theBlinkIDSDKobject. - Checked if the current browser is supported by the BlinkID SDK (you can see the list of supported browsers in our documentation).
const loadSettings = new BlinkIDSDK.WasmSDKLoadSettings(LICENSE);
loadSettings.engineLocation = window.location.origin + "/resources/";
Line by line:
- Created a new instance of
WasmSDKLoadSettings, passing theLICENSEconstant.- This object holds the configuration settings for loading the WebAssembly (WASM) module of the SDK. You can read more about it here.
- Set the location where the WASM engine files are hosted. As you may remember from the
Copying the resources folderstep, we copied theresourcesfolder to thepublicfolder, and we need to indicate that specifically.- If you’d copy/paste the actual content of the
resourcesfolder into thepublicfolder, then you wouldn’t need to set this specifically.
- If you’d copy/paste the actual content of the
- Called the
loadWasmModulemethod to load the WASM module with the specified settings.- This method returns a promise, and once it resolves succesfully, the asynchronous callback function is executed, exposing the
wasmSDKvariable.
- This method returns a promise, and once it resolves succesfully, the asynchronous callback function is executed, exposing the
const recognizer = await BlinkIDSDK.createBlinkIdSingleSideRecognizer(wasmSDK);
const recognizerRunner = await BlinkIDSDK.createRecognizerRunner(
    wasmSDK,
    [recognizer],
    true
);
Line by line:
- Created an instance of
BlinkIdSingleSideRecognizer. - Created a
RecognizerRunnerinstance which manages the recognition process.- It takes the Wasm SDK instance, an array of recognizers, and a boolean flag indicating whether the recognizer should allow multiple results or not (read more about it here).
const cameraFeed = document.getElementById("myCameraVideoElement");
const videoRecognizer = await BlinkIDSDK.VideoRecognizer.createVideoRecognizerFromCameraStream(
    cameraFeed,
    recognizerRunner
);
Line by line:
- Selected the video element from the DOM which will be used to display the camera feed.
- In a
try/catchblock we created aVideoRecognizerinstance from the camera stream using the selected video element (cameraFeed) and the recognizer runner (recognizerRunner).
const processResult = await videoRecognizer.recognize();
console.log(processResult);

if (processResult !== BlinkIDSDK.RecognizerResultState.Empty) {
    const recognitionResult = await recognizer.getResult();
    console.log(recognitionResult);
}
else {
    console.log("Recognition was not successful!");
}
Line by line:
- Started the recognition process and logged the result to the console.
- Checked if the process result is not empty, then waited for the results from the recognizer and logged them in the console.
- If the process result is empty, we log the appropriate message.
Finally, we catch any errors from the try/catch and promise.
Testing the integration – take #1
If you open the index.html file in a web browser, you’ll see and error, something along the lines of:
Uncaught Error
    at new WasmSDKLoadSettings (@microblink_blinkid-in-browser-sdk.js?v=1a0eef98:1868:13)
    at main.js:5:24
This is because we haven’t defined the license in the LICENSE variable.
Getting the license
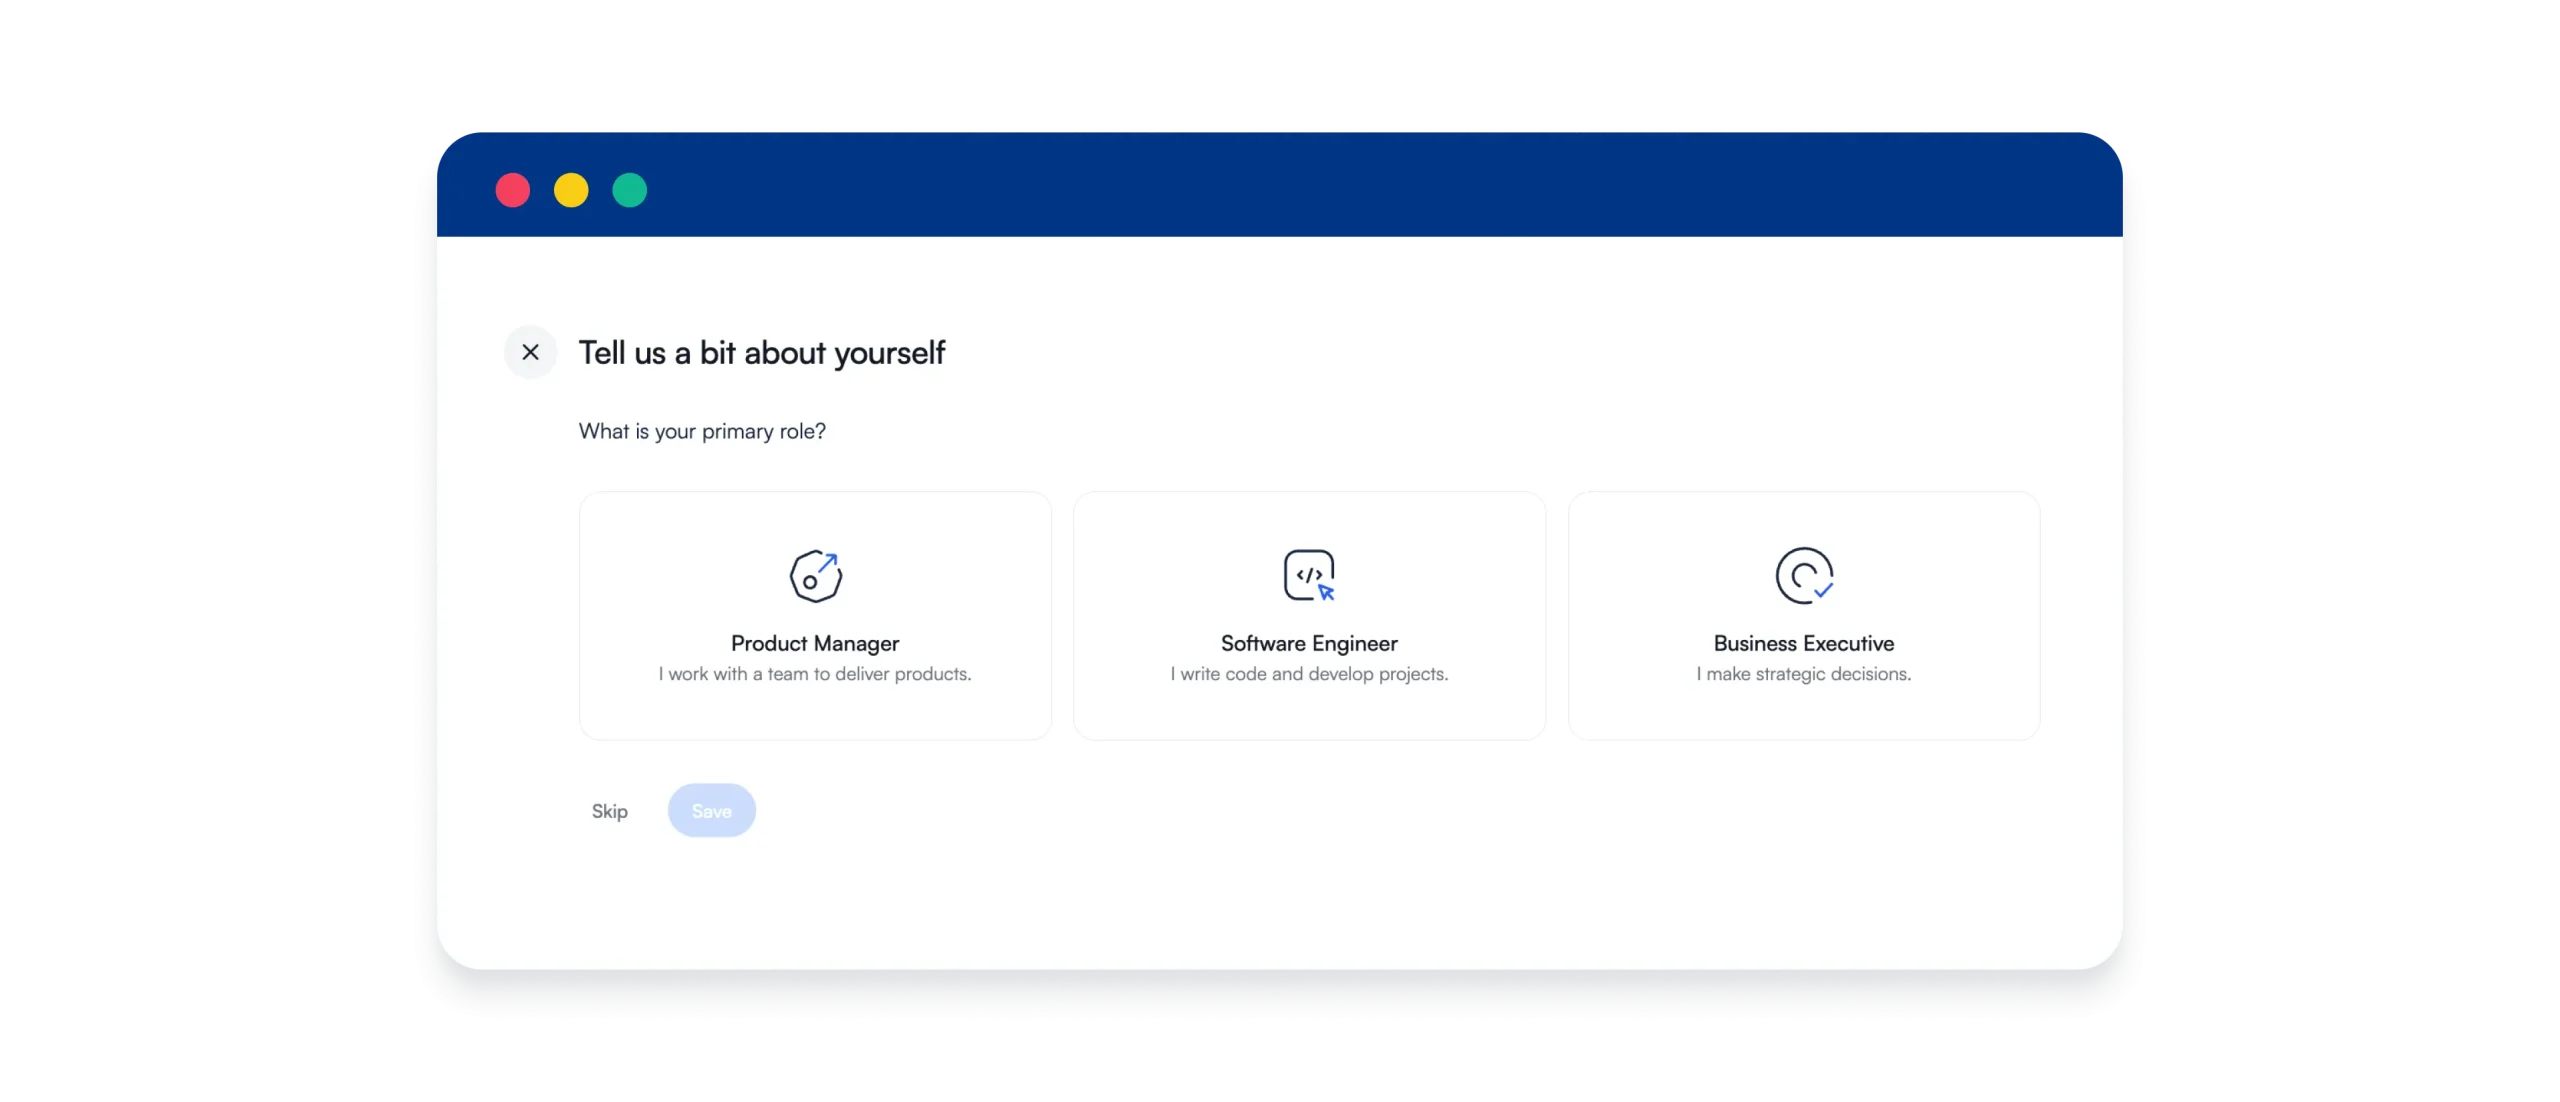
To fix this, we need to go to https://login.microblink.com/ to create an account in Developer Hub. You’ll be prompted with the standard signup form:

You’ll be asked a few questions that you can skip (if you’re a dev, PM, etc 🙂).
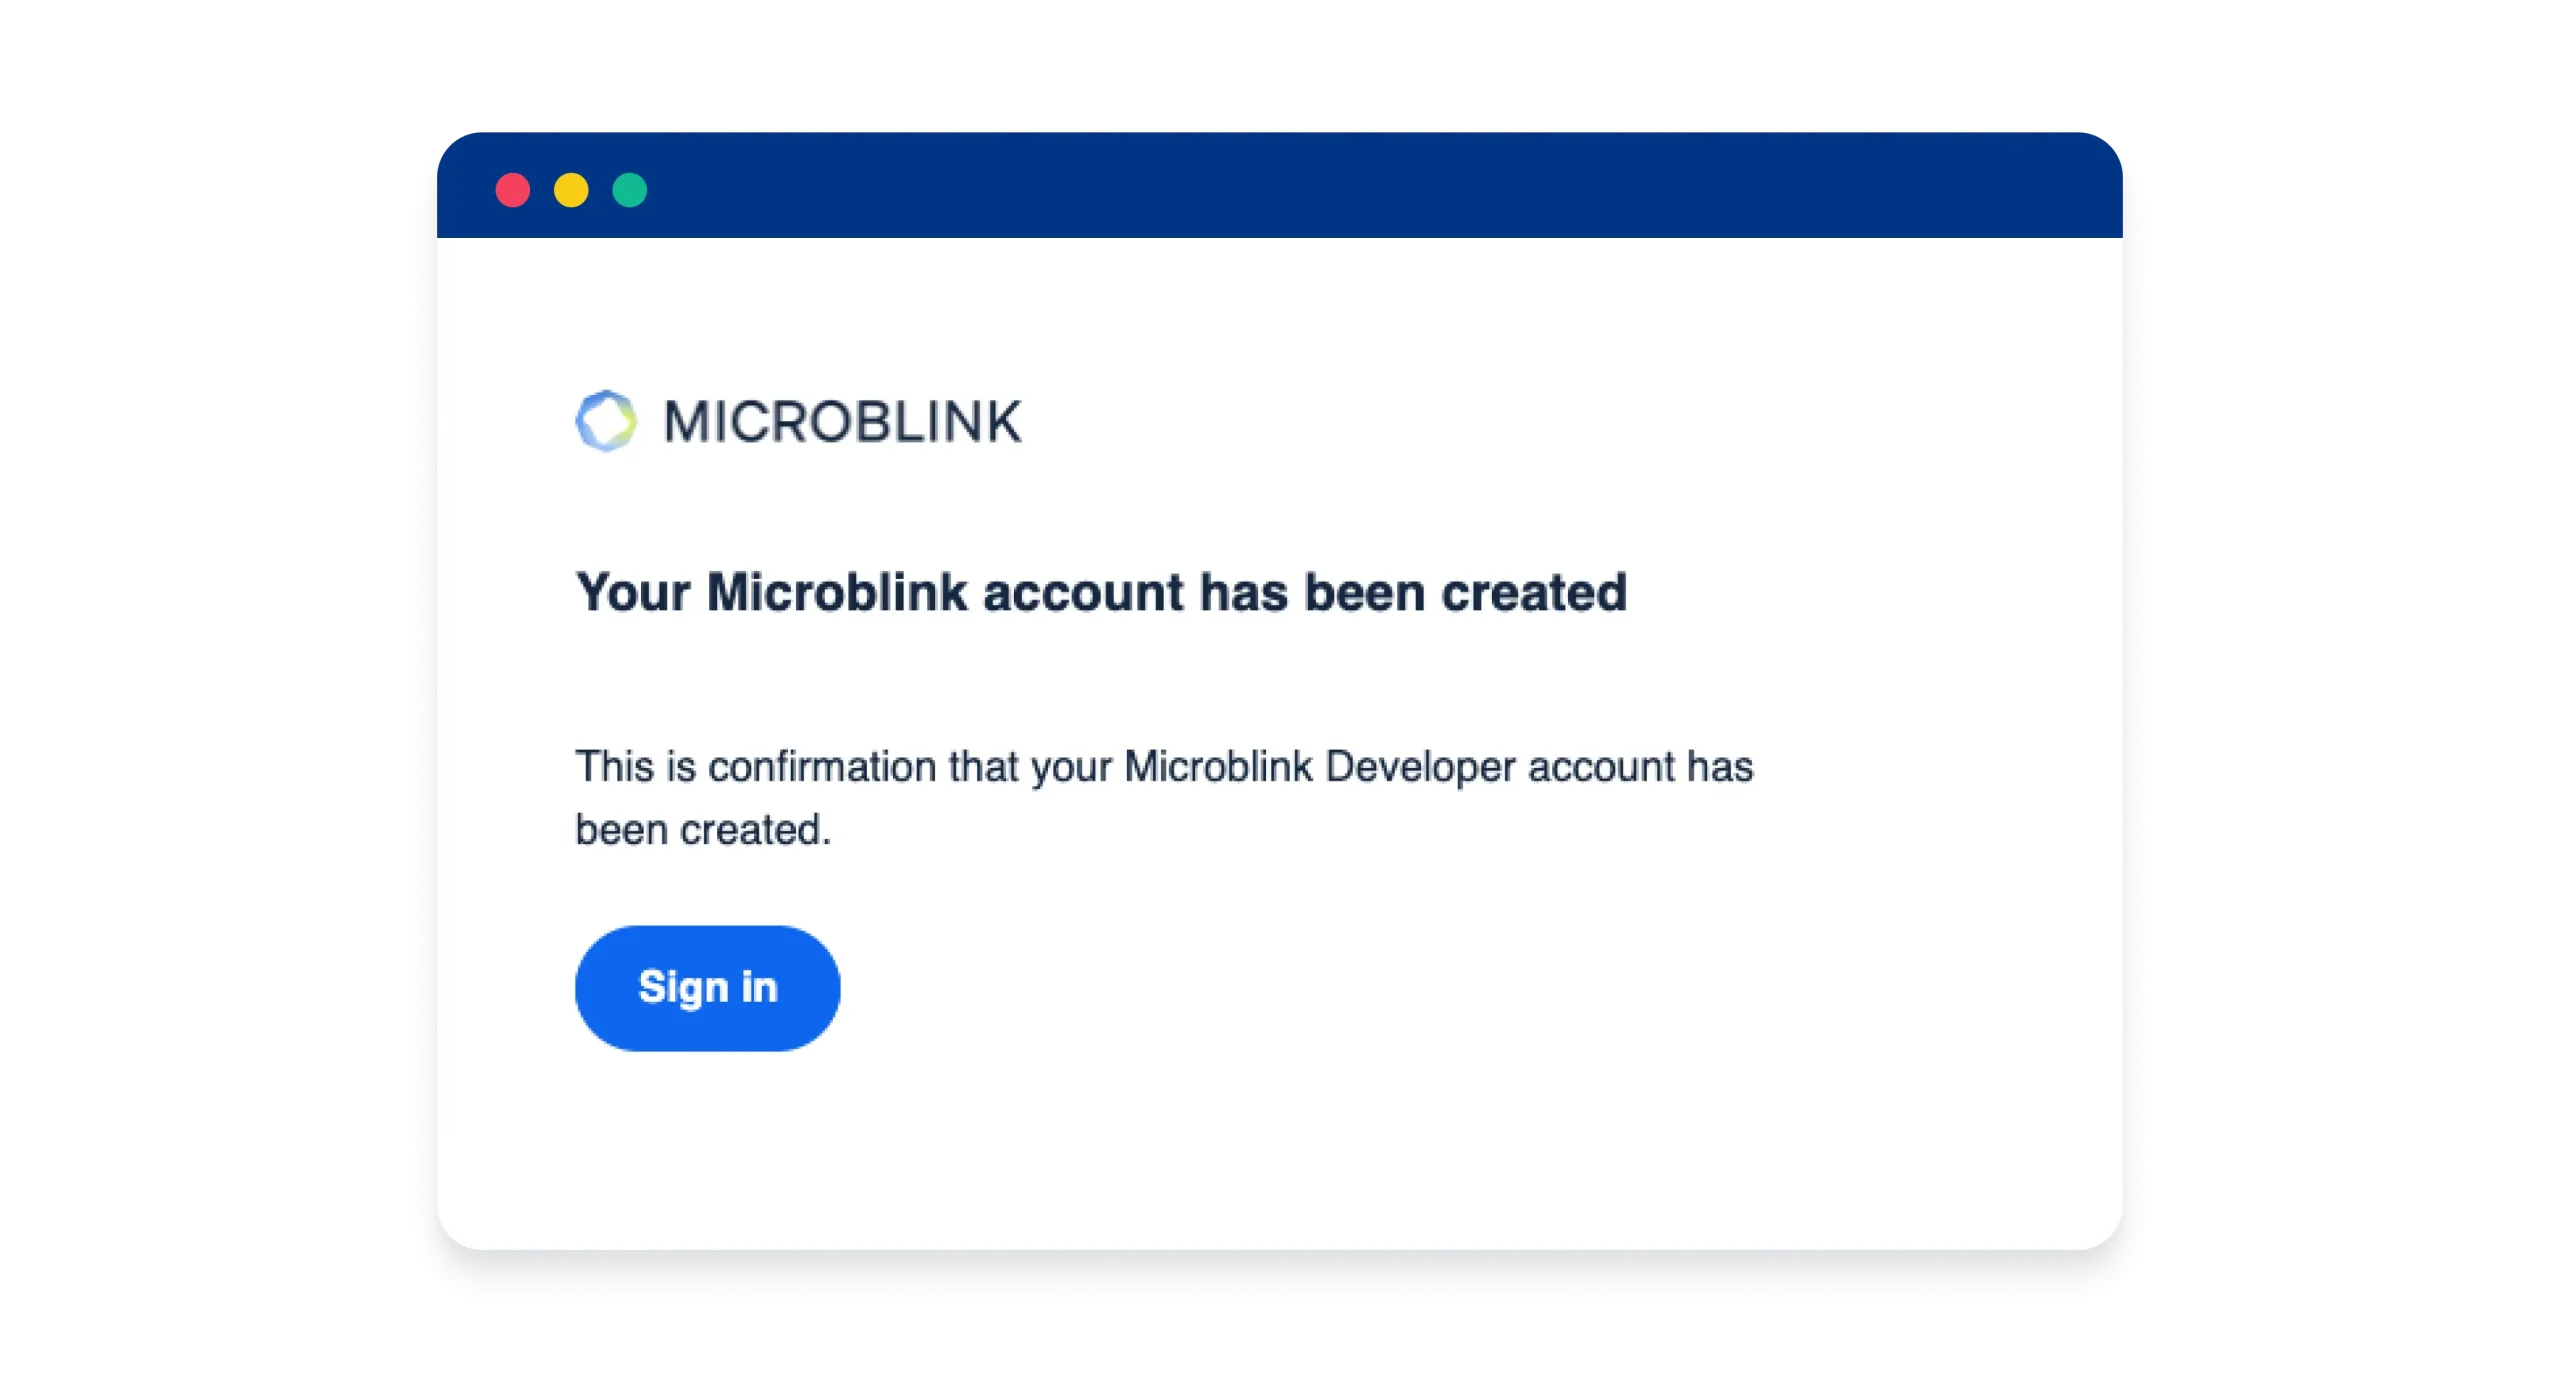
And you’ll get a confirmation email.
Once you sign in, you’ll see a dashboard like this:

Here you should click on the Start New Trial button, and in the following screen select BlinkID as the product, InBrowser as the platform, and localhost as the domain name for the testing environment. Before going into production, you should update the domain name to your actual domain.

Then you’ll get to a screen where you can copy the code (it’ll be a long, so-called Base64, string of numbers and letters). Paste this code into the LICENSE variable in the main.js file, and you’ll be all set.

BTW, if you’re curious, BlinkID is available for lots of platforms, find the list of platforms on this link.
Testing the integration – take #2
If you open the index.html file in your browser again, you’ll be presented with a camera feed where you should show some ID. I Googled US driver’s license example, took the first image on the results page, and printed it out.
Then if you show this image to the camera it will dump all the available data in the console log:

Conclusion
Integrating the BlinkID SDK into your web application is a straightforward process that can significantly enhance your app’s onboarding/processing capabilities.
By following these steps, you can set up document scanning and OCR functionalities to extract data from driver’s licenses, improving both user experience and efficiency in less than 5 minutes.
For those who want to learn more
This was a barebones example just to get you started quickly.
Now, if you wish to learn more, you can check out the official repo on Github, and you can also try to add some modifications yourself, like:
- Styling
- Enhance the HTML with CSS to make the interface more user-friendly.
- Error handling and feedback
- Add better error handling and provide better feedback to users.
- Extend functionality
- Explore BlinkID SDK features and enhance your application’s capabilities.